Sauerkraut
This sauerkraut recipe is quick and easy to make for a great side dish or last-minute topping for hot dogs. It reminds me of visiting my grandparents when we always had kielbasa and sauerkraut for our holiday feasts.
When life gives you cabbage, you make sauerkraut and homemade sauerkraut is a world apart from the stuff that comes from the grocery store. It’s crunchy and delightfully sour, perfect for topping a round of beer-braised brats, cooking it with kielbasa sausage, or layering into a big sandwich.
If you’re worried about needing a special crock or making so much you’ll be eating it for months, don’t be! Today I’m showing you how to make a small batch of sauerkraut in a mason jar. It’s just enough kraut to get you hooked.
It’s beyond easy to make. Sauerkraut is often one of the first fermentation projects recommended to curious DIY-ers, and with good reason: It’s easy to make, requires very little special equipment, and the results are dependably delicious.
You only need 2 ingredients. All you need to do is combine shredded cabbage with some salt and pack it into a container. The cabbage releases liquid, creating its own brining solution. Submerged in this liquid for a period of several days or weeks, the cabbage slowly ferments into the crunchy, sour condiment we know and love as sauerkraut.
Cabbage and salt: At the most basic, all you need is cabbage and kosher salt. You can also add caraway seeds for flavor.
Mason jar: It’s important that the cabbage remain submerged in its liquid during fermentation. Use a 2-quart wide-mouth canning jar or 2 quart mason jars.
Smaller jelly jar filled with rocks: When making sauerkraut in a crock, you usually place a weighted plate over the cabbage to pack it down and keep it submerged. When fermenting in a mason jar, inserting a smaller jelly jar filled with rocks or marbles in the mouth of the larger jar serves the same purpose.The cabbage near the surface tends to float, so when fermenting in a mason jar, you need to either tamp down the cabbage a few times a day or place a large outer leaf of cabbage over the surface of the shredded cabbage to hold it down.
Cheesecloth: Also be sure to keep the jar covered at all times with a clean cloth or piece of cheesecloth. This will allow airflow, but prevent dust or insects from getting into the sauerkraut.
Sauerkraut is made by a process called lacto-fermentation. To put it (fairly) simply: There is beneficial bacteria present on the surface of the cabbage and, in fact, all fruits and vegetables. Lactobacillus is one of those bacteria, which is the same bacteria found in yogurt and many other cultured products.
When submerged in a brine, the bacteria begin to convert sugars in the cabbage into lactic acid; this is a natural preservative that inhibits the growth of harmful bacteria.
Lacto-fermentation has been used for centuries to preserve seasonal vegetables beyond their standard shelf-life. Here’s why we use it for sauerkraut:
The fermentation process itself is very reliable and safe.
Fermented sauerkraut can be kept at cellar temperature (around 55°F) for months, although those of us without cellars can store the kraut in our fridges.
Besides preserving the cabbage, the fermentation process also transforms it into something incredibly tasty and gives it additional health benefits (fermented sauerkraut contains a lot of the same healthy probiotics as a bowl of yogurt).
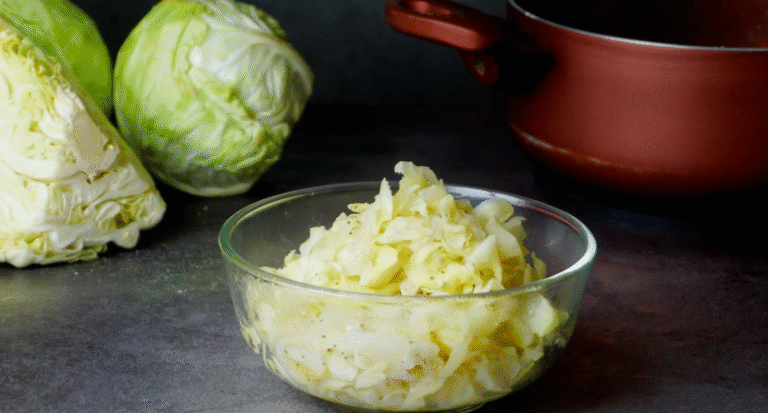
Massage the cabbage with salt. Shredded cabbage is mixed with salt, then massaged until softened.
Pack it into a jar. The cabbage is packed into a jar and weighed down to keep it submerged. The cabbage will begin to release liquid, creating its own brine. The “good” bacteria on the cabbage will convert sugars into lactic acid, inhibiting the growth of harmful bacteria.
Let it ferment. After 3 to 10 days, the cabbage will be fermented and ready to enjoy.
Sauerkraut with other cabbages: Red cabbage, napa cabbage, and other cabbages all make great sauerkraut. Make individual batches or mix them up for a multi-colored sauerkraut!
For a small quart-sized batch like we’re making today, the minimum time is about three days, although the kraut will continue to ferment and become tastier for many days after that.
As simple as it sounds, the best rule of thumb is to keep tasting the kraut and refrigerate (or take it cellar temperature) when it tastes good to you. The sauerkraut is safe to eat at every stage of the process, so there is no real minimum or maximum fermentation time.
Not much! You may see bubbles, foam, or white scum on the surface of the sauerkraut, but these are all signs of normal, healthy fermentation. The white scum can be skimmed off as you see it or before refrigerating the sauerkraut.
If you get a very active fermentation or if your mason jar is very full, the brine can sometimes bubble up over the top of the jar. This is part of the reason why I recommend using a larger mason jar than is really necessary to hold the cabbage. If you do get a bubble-up, it’s nothing to worry about — just place a plate below the jar to catch the drips and make sure the cabbage continues to be covered by the brine.